

Making classroom DIY projects is one of my favourite things to do! I have made a few different items for my classroom (wood gem blocks, colourful blocks, wooden roads, story stones, and more!) but these wooden gem beads are probably my favourite so far.
I had the idea to make these when I was thinking of building fine motor skills with my students, and I wanted to create something that they could stack and thread. Over on my Instagram, I shared in my Stories how I was making them, and I’ve also created a video if you want the visuals to follow along with:
Classroom DIY
For this project, the only thing I purchased was the two pieces of wood that I used to make the gems. I have a few power tools and supplies already in my garage, so I did not need to buy anything else.
Materials
Here is what I used (this post contains affiliate links):

- 2x Wood pieces (1 1/2 inch x 1 1/2 inch, 2 feet long)
- Table Saw
- Drill Press
- 17/64 inch Drill Bit
- Belt Sander
- Acrylic Paint
- Clear Seal Spray
Step 1 – Measure

I started off by using a tape measure and a pencil to mark off where I wanted to cut. This part does not have to perfect – since they will be gems, they don’t have to be perfectly cube.
Step 2 – Cut!

My husband was helping me make these gems. I love that he wants to work with me to bring my ideas to life.
He used the table saw (ours was his grandfather’s so it is OLD), to cut along the lines that I had drawn.
Step 4- Drill the Holes

We used a drill press with a 17/64 inch drill bit attached to make the holes through the center.
Step 5 – Sand Away!

This is the part that took the longest, and I am glad I had my husband help me. We sanded each of the cubes to look like gems.
I did the shapes randomly, so no two beads will look the same. The belt sander comes in really handy for this part because it makes the process so much faster than sanding by hand.
Step 6 – Clean Up!

You want to make sure that the gems are clean before you start painting. I took a damp microfiber cloth and I wiped down each of the gems, then let them dry.
Step 7 – Paint Time

I used this Martha Stewart satin finish acrylic paint that I love and bought years ago at a craft store. The colours are the perfect, calming pastel shades and they work so well.
I chose to use yellow, green, blue, white, pink and purple. The pink and purple paints were a lot more vibrant than the others, so I mixed them with white paint to match the tone of the rest.

Once I finished painting them (I only did one coat), I let them dry and admired how pretty they are.
Step 8 – Finish Them!

To make sure that the paint doesn’t chip off of the gems, I used this clear coat spray. I use this stuff all the time to finish my craft projects and it keeps everything looking so nice.
I suggest spraying them outside and wearing gloves for this part. I forgot to and I had a coating of the spray on my hand for the next day and it was not a great feeling.
Wooden Gems

Like I said at the beginning, this classroom DIY project turned out exactly how I imagined and I couldn’t be any happier with them. I’m glad I took the risk and tried making them, it was definitely worth the Saturday I spent making them.
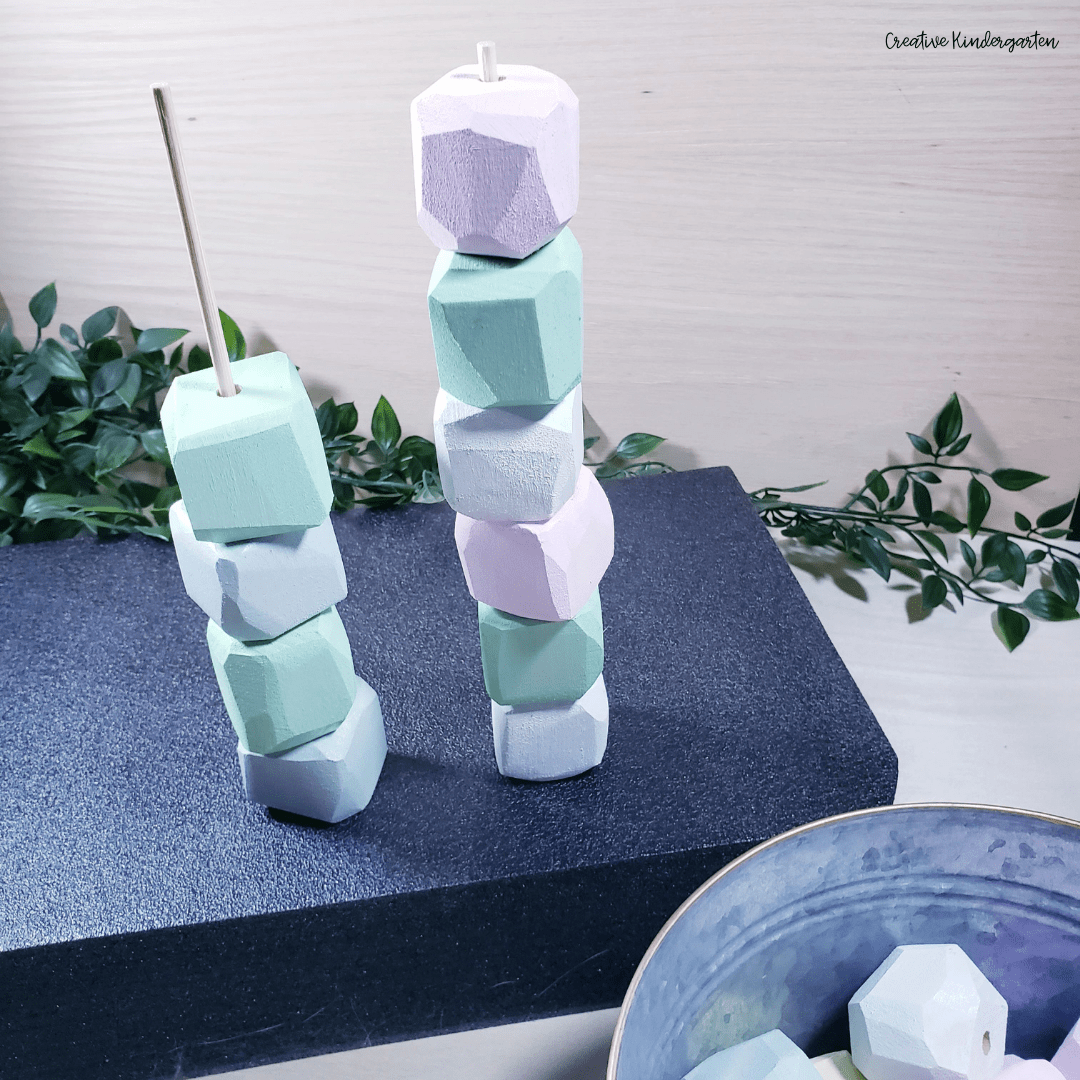
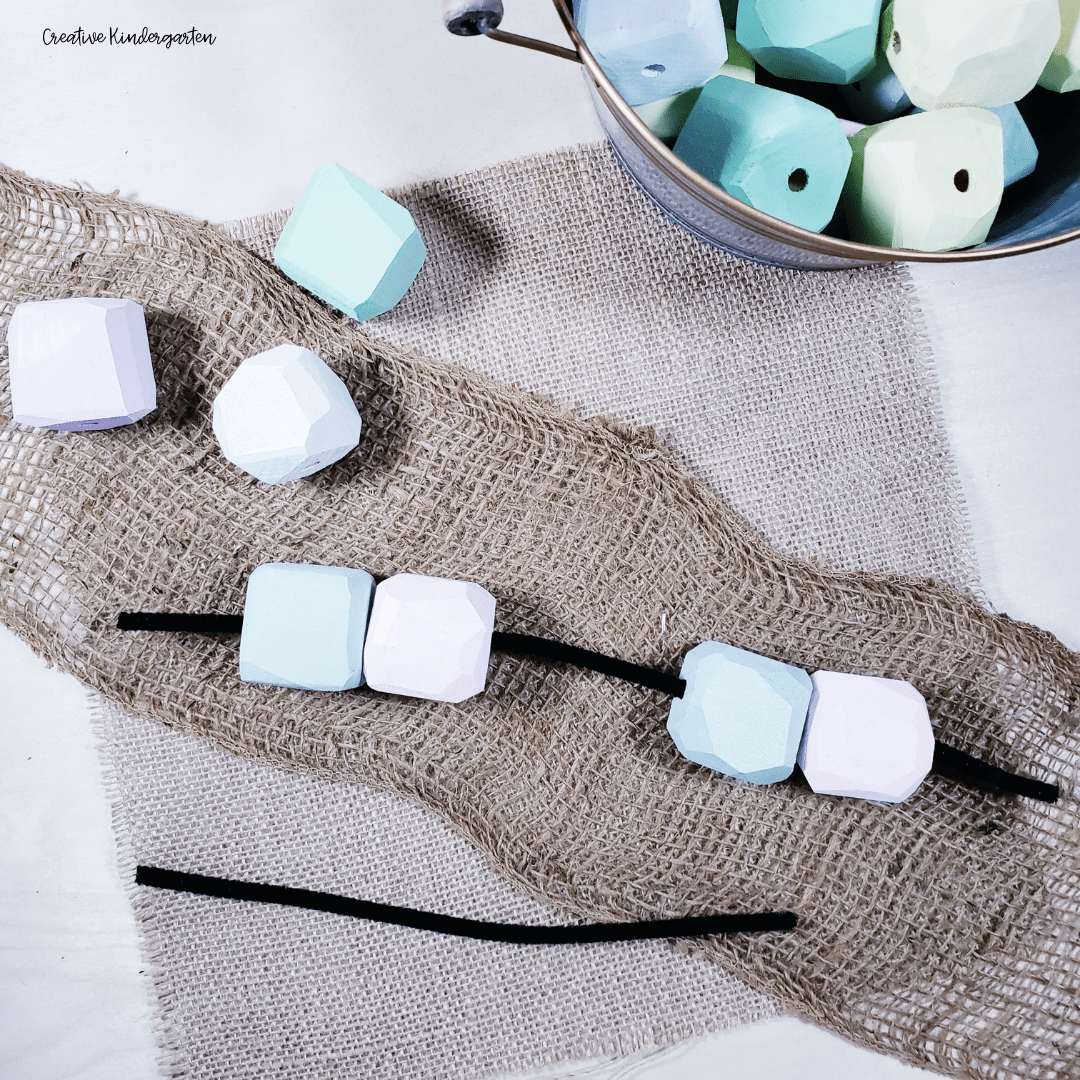
You can use skewers/dowels and pipe cleaners to thread the beads. I also left the sides flat so that they could be stacked. These would make a great addition to your fine motor station or building center!
Have you made any classroom DIY projects? Let me know in the comments what you have made, and let me know what I should make next!
Need more daily inspiration for your classroom? Make sure you are following me here, on Facebook and on Instagram!
One comment